
Getting Started
I used the Jekyll chirpy theme for this webpage. Follow the following steps to create your own webpage.
Steps:
First go to the Chirpy github page. Click on the Chirpy starter. This will redirect you to create new github repository. Name the repository as <your user name>.github.io. So, in my case, I created dewshr.github.io
Clone your git repository to your local computer using
git clone.Install the required dependencies trough this Jekyll link. There is OS specific documentation you can follow. I am using macOS, here are the commands I used:
brew install chruby ruby-installruby-install rubyecho "source $(brew --prefix)/opt/chruby/share/chruby/chruby.sh" >> ~/.bash_profileecho "source $(brew --prefix)/opt/chruby/share/chruby/auto.sh" >> ~/.bash_profileecho "chruby ruby-3.1.2" >> ~/.bash_profilesource ~/.bash_profile(or you can restart the terminal)gem install jekyllbundle(run this inside your local github repository (dewshr.github.io))
1
I already have homebrew installed.
Launching web page locally
Run the command bundle exec jekyll s. This will give you the server address (example: http://127.0.0.1:4000/). After you go to the server address it should look something like this 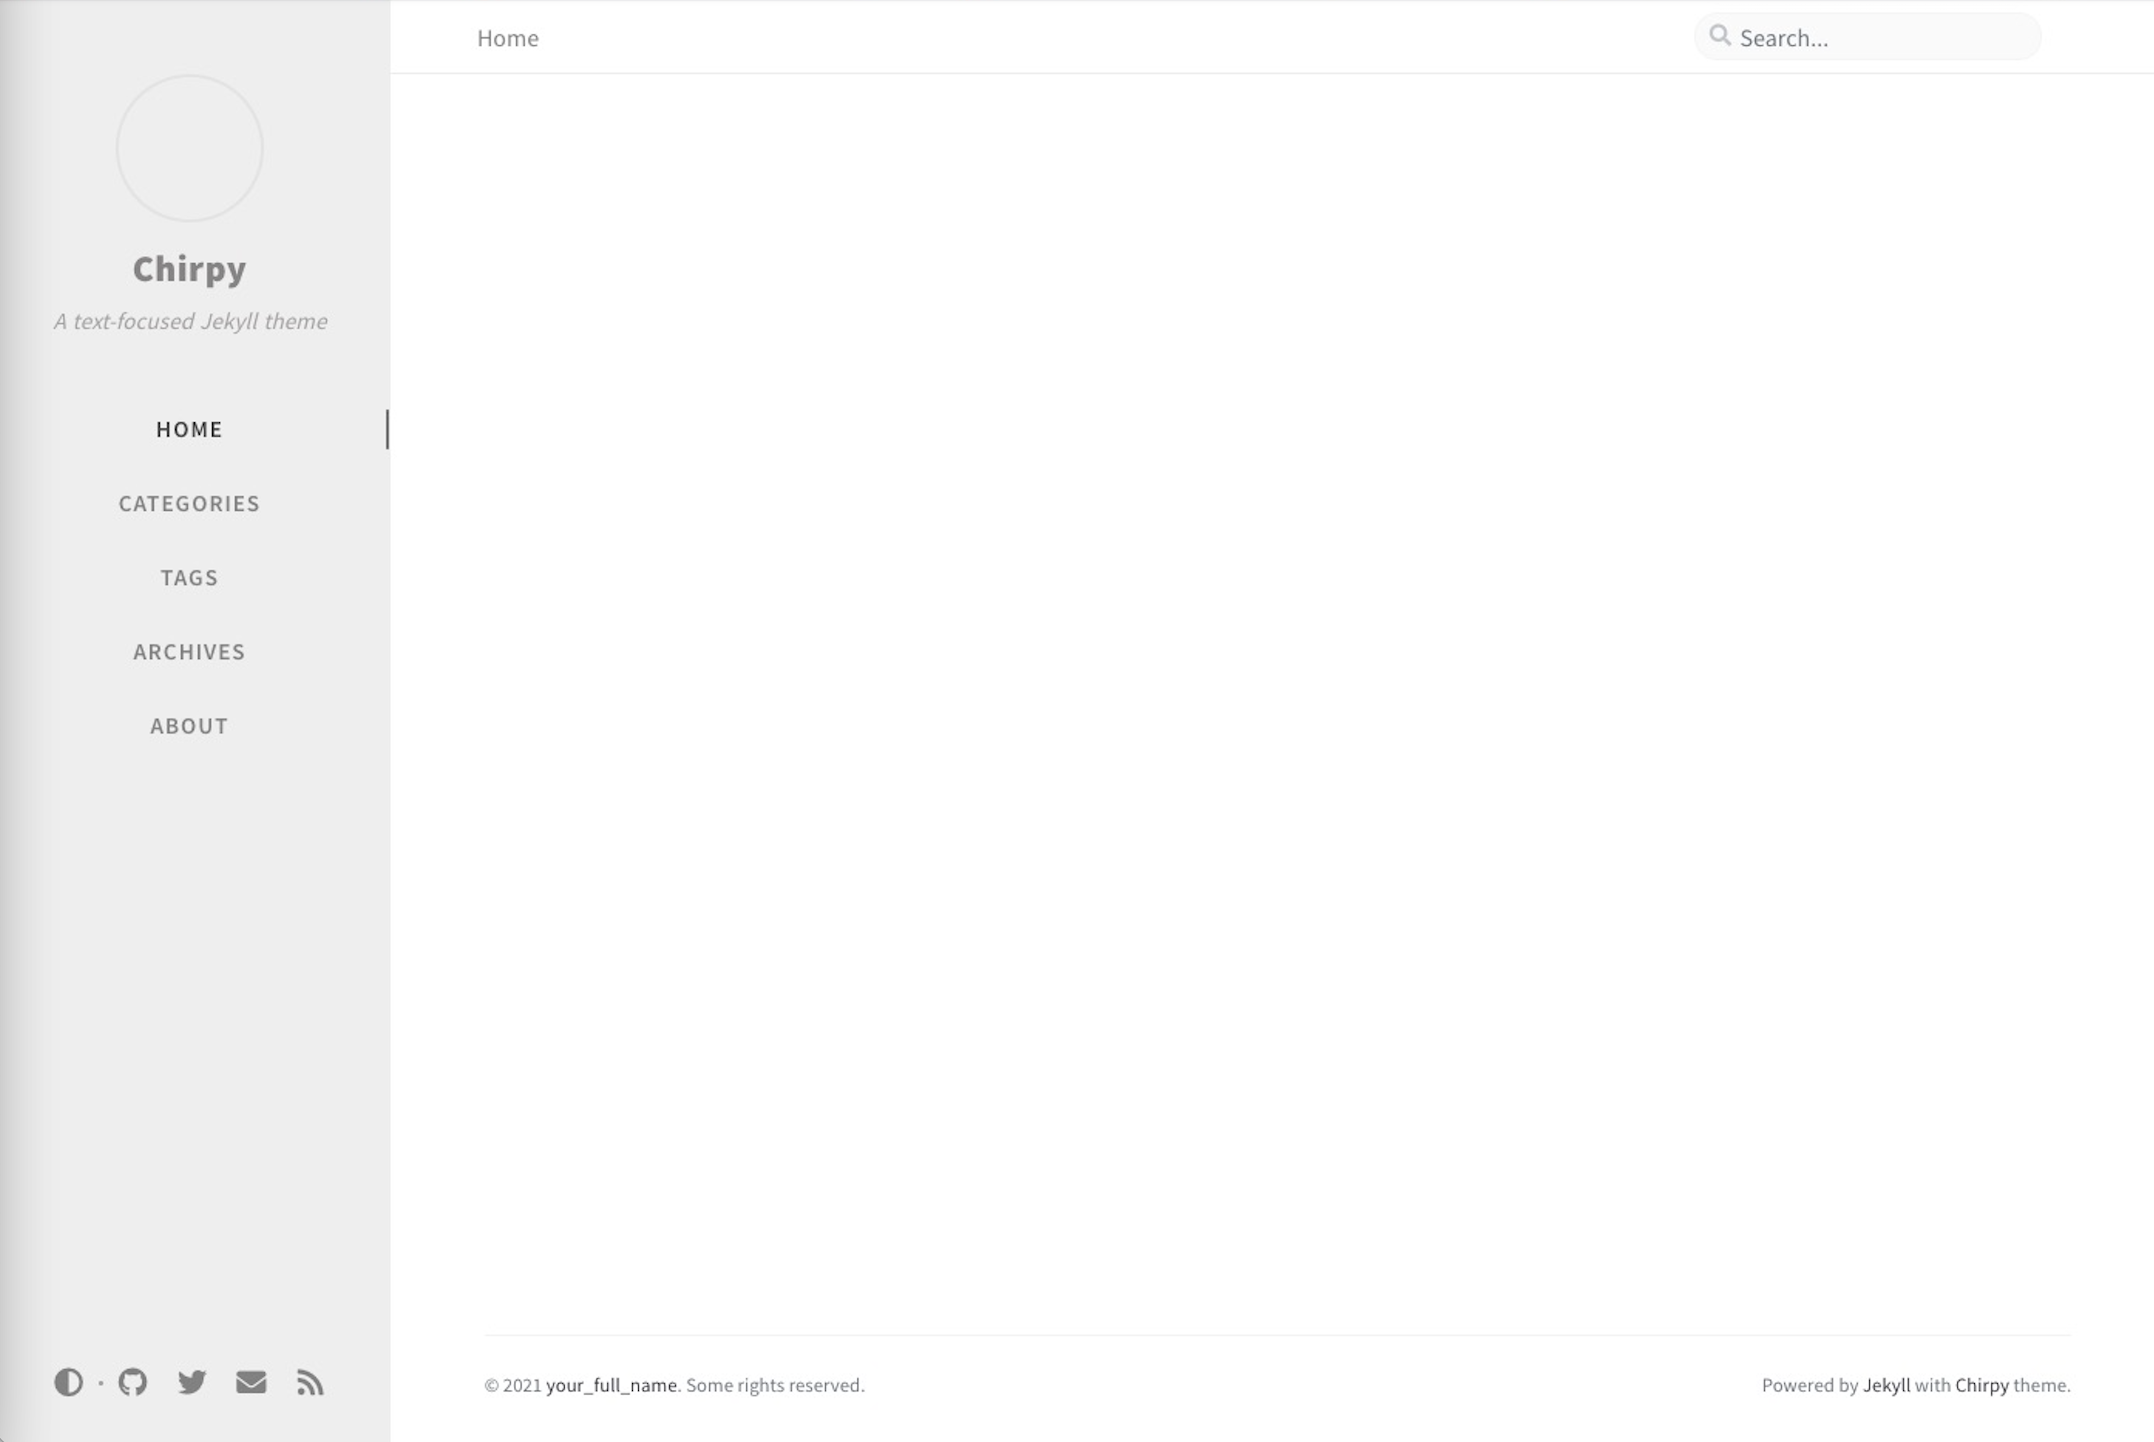
To customize the names and links to the social media, go to the configuration file config.yml and make changes over there.
Adding new posts
Create a new file with extension .md inside the folder _posts. The file name should follow in this order: 2022-08-22-creating-static-webpage.md. Inside the file you need to have this on the top:
1
2
3
4
5
6
7
8
---
title: Creating a static webpage
author: Dewan Shrestha
date: 2022-08-22 11:30:00 -0500
categories: [webpage_tutorial]
tags: [webpage, github pages, jekyll]
pin: true
---
The last number on the date represents the time zone. For more details follow this link
Linking another post within a post
You can link another markdown page using post_url. In the image below gtf file is the text that will appear in the page that will link to another page. 2022-08-31-public-data-links is the name of another markdown file that you want to link. You don’t need to put .md after the name.

Building and Deploying website through github
Before we deploy, there is also another file (pages-deploy.yml) that needs to be changed. I used vi .github/workflows/pages-deploy.yml to edit the file.
Since, I am running on macOS. I changed runs-on section from linux to macOS-12. You might also need to change the ruby version. I changed it to 3.1.2. You can get the version information by running ruby -v in terminal. In my case, running ruby -v gives version as 3.1.2p20. You do not need to include p20 in the version information.
Now after making all these changes, you can push the changes to github repository:
git add .git commit -m 'first commit'git push
After this go to the your github repository and click on Actions tab. You can see the status of your workflow over there.
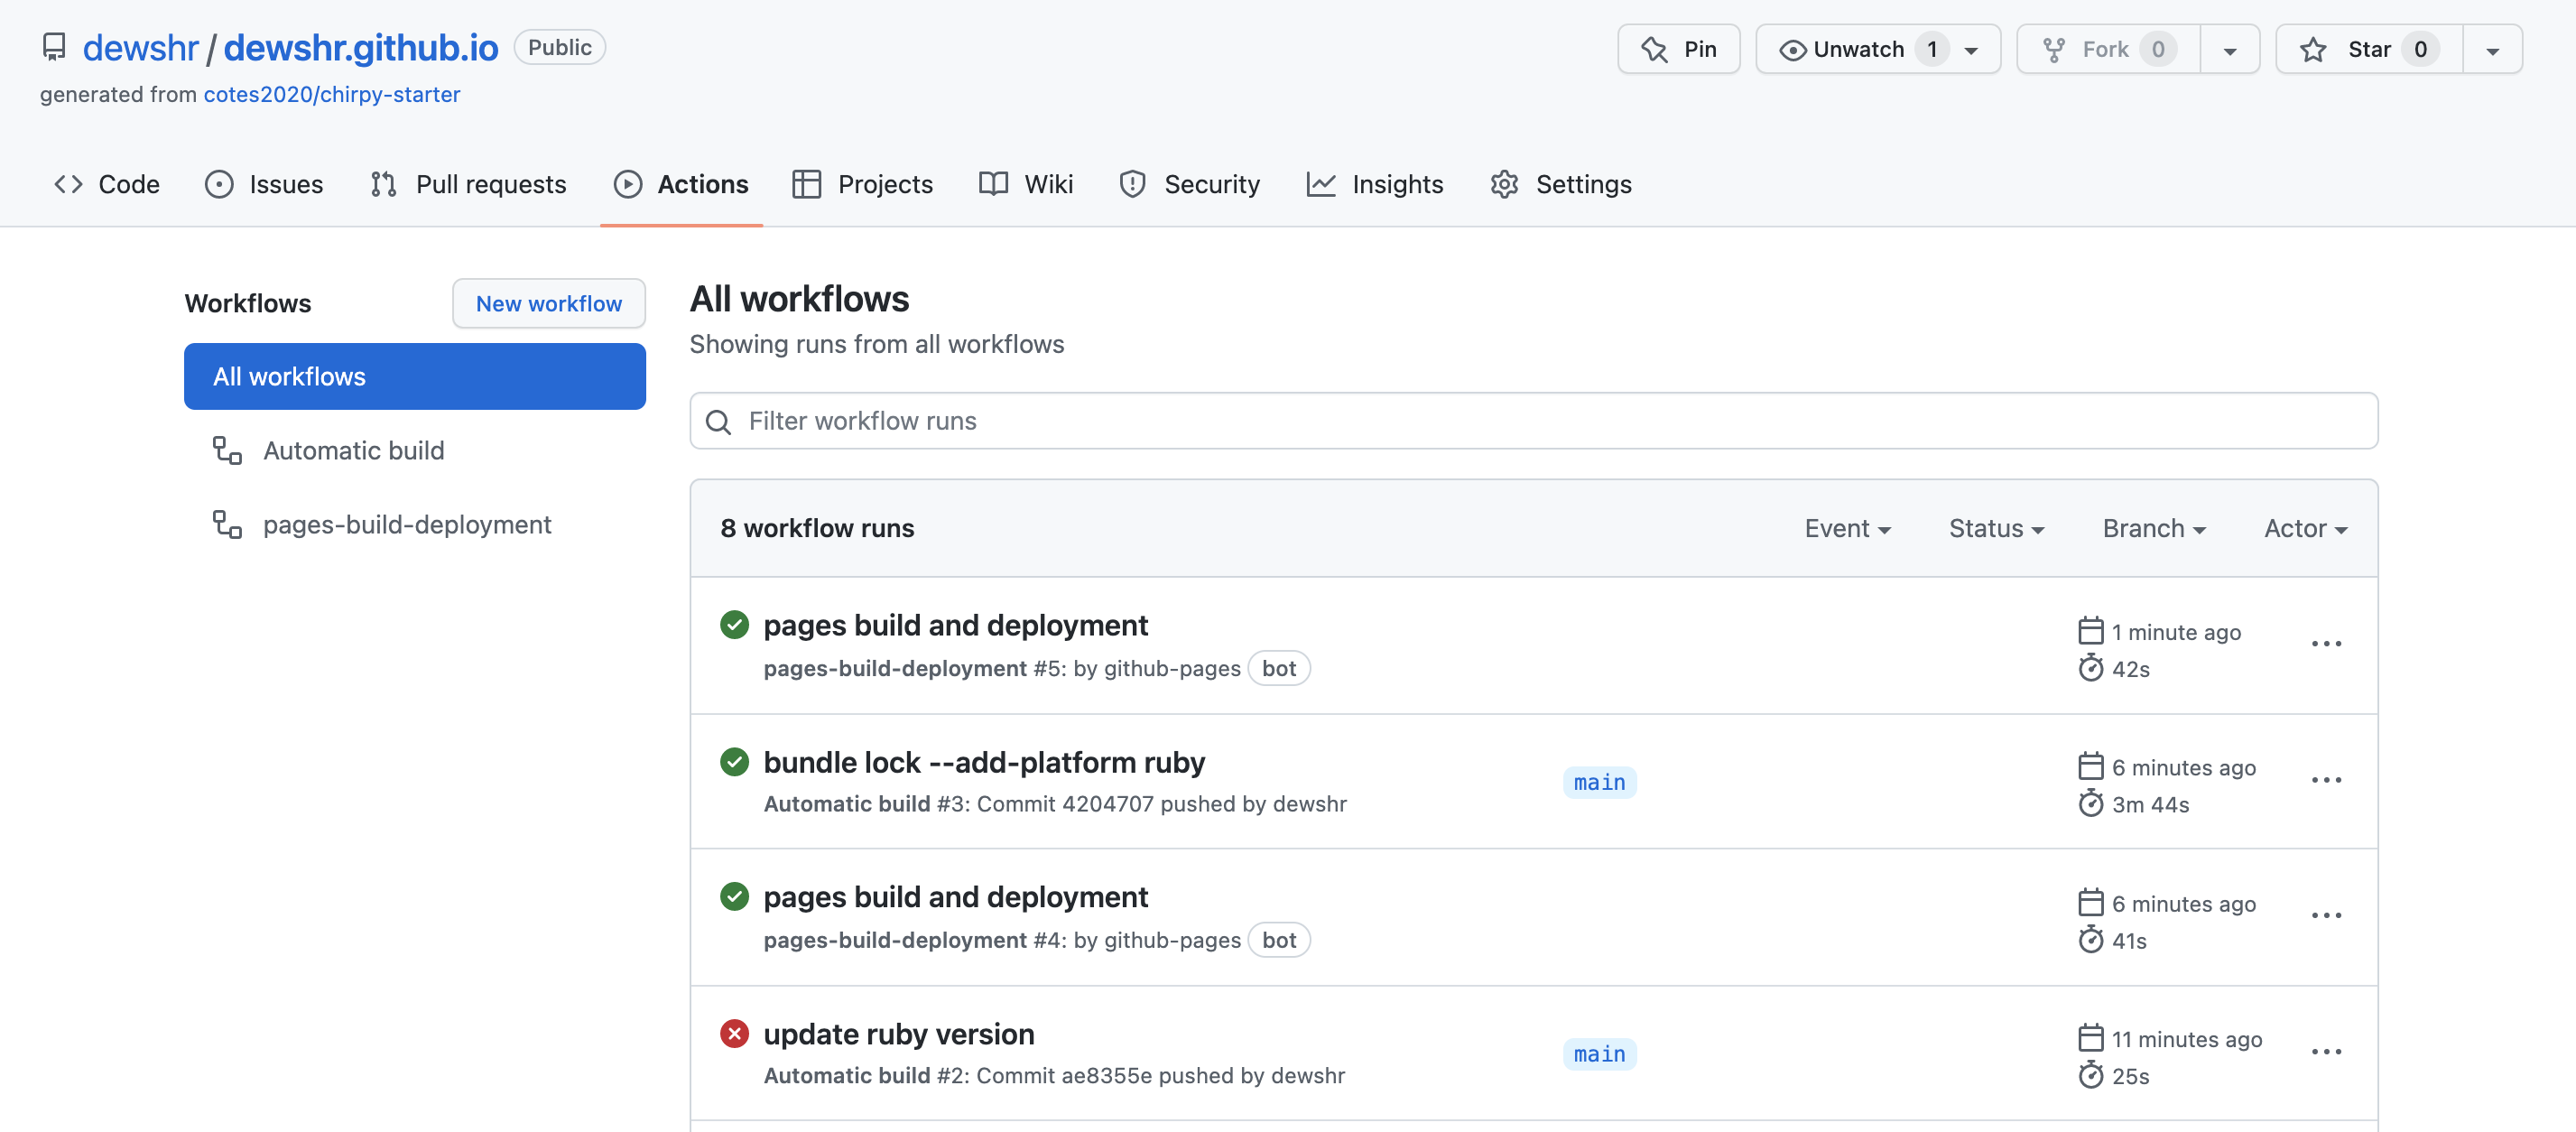
The successful built and deployment will have the green check mark as shown above. That was not the case for me. You can click on the failed section to get the detailed log of the event.
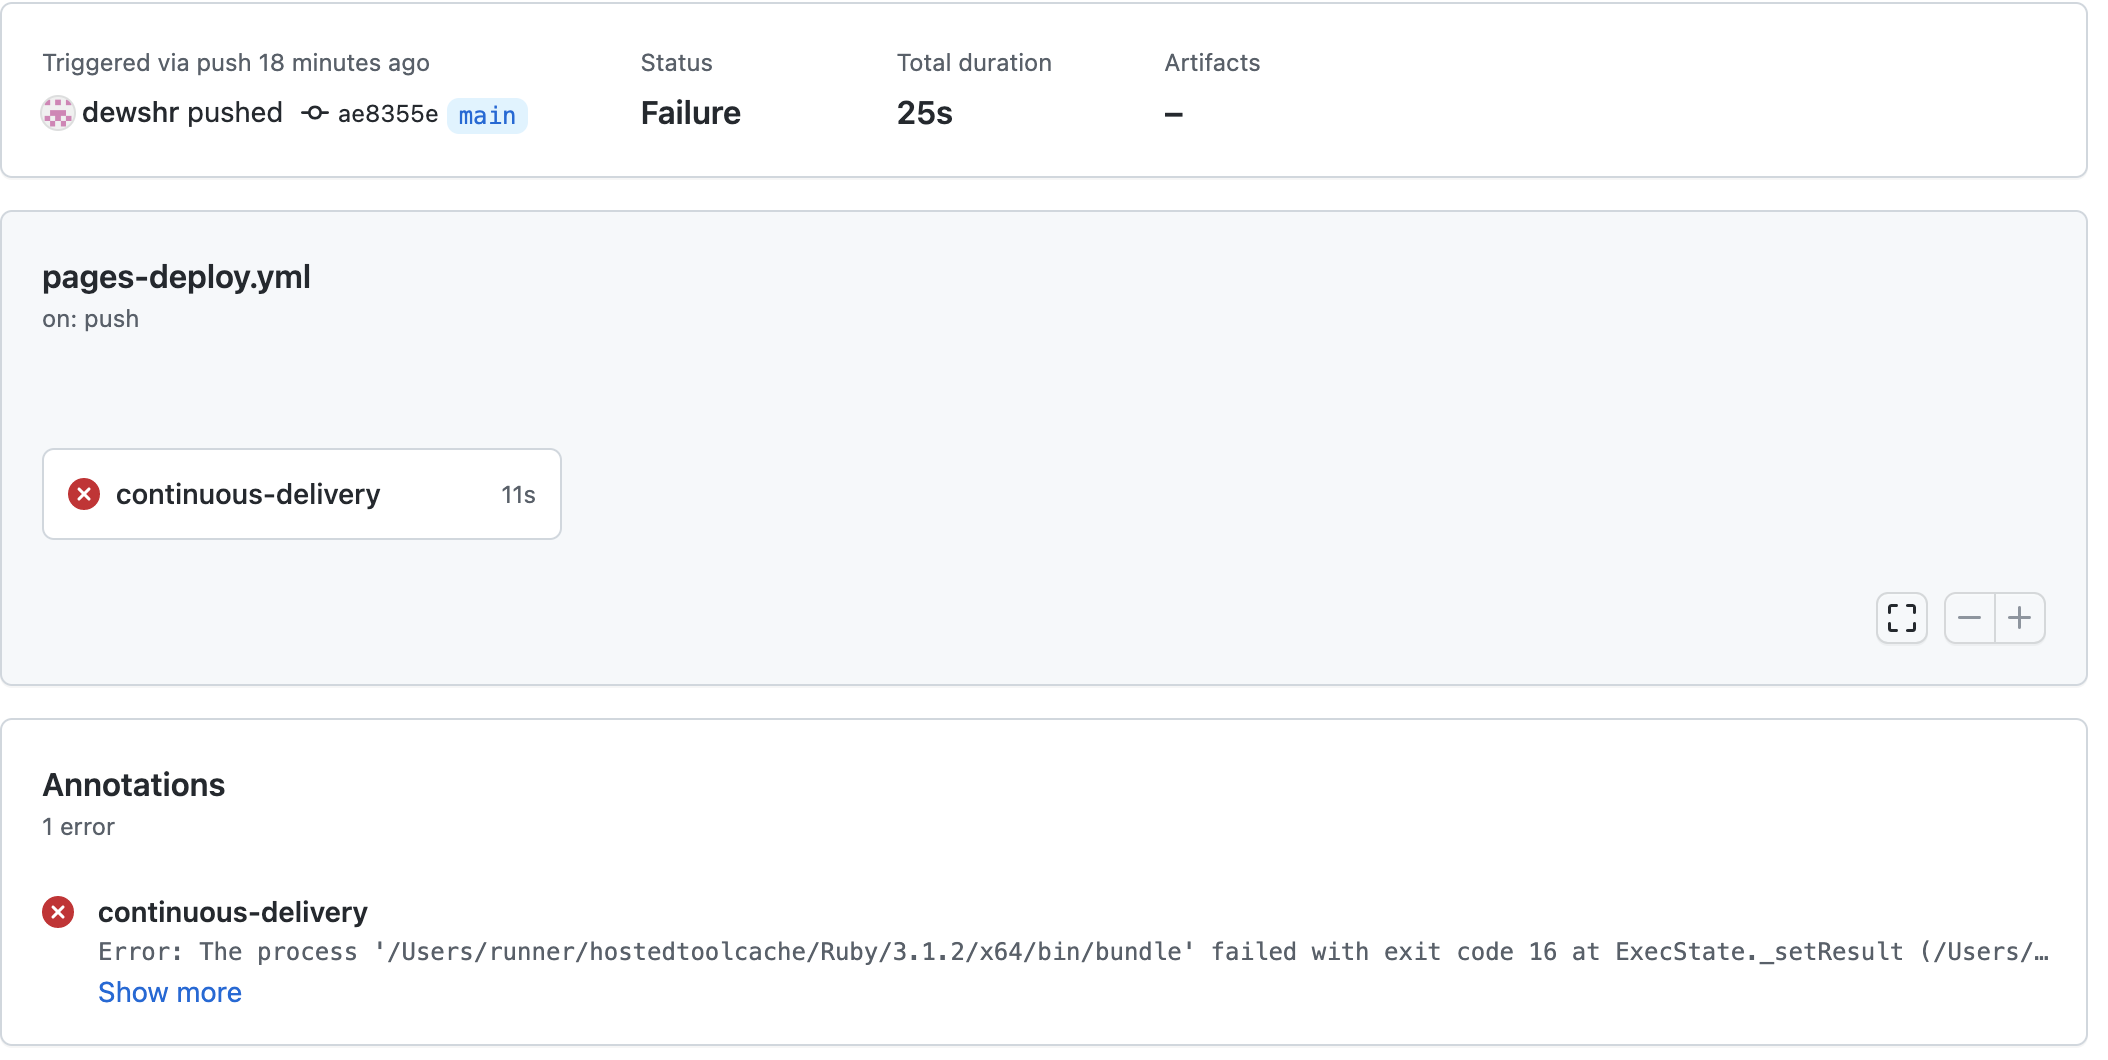
I had to run following command to fix it:
1
bundle lock --add-platform ruby
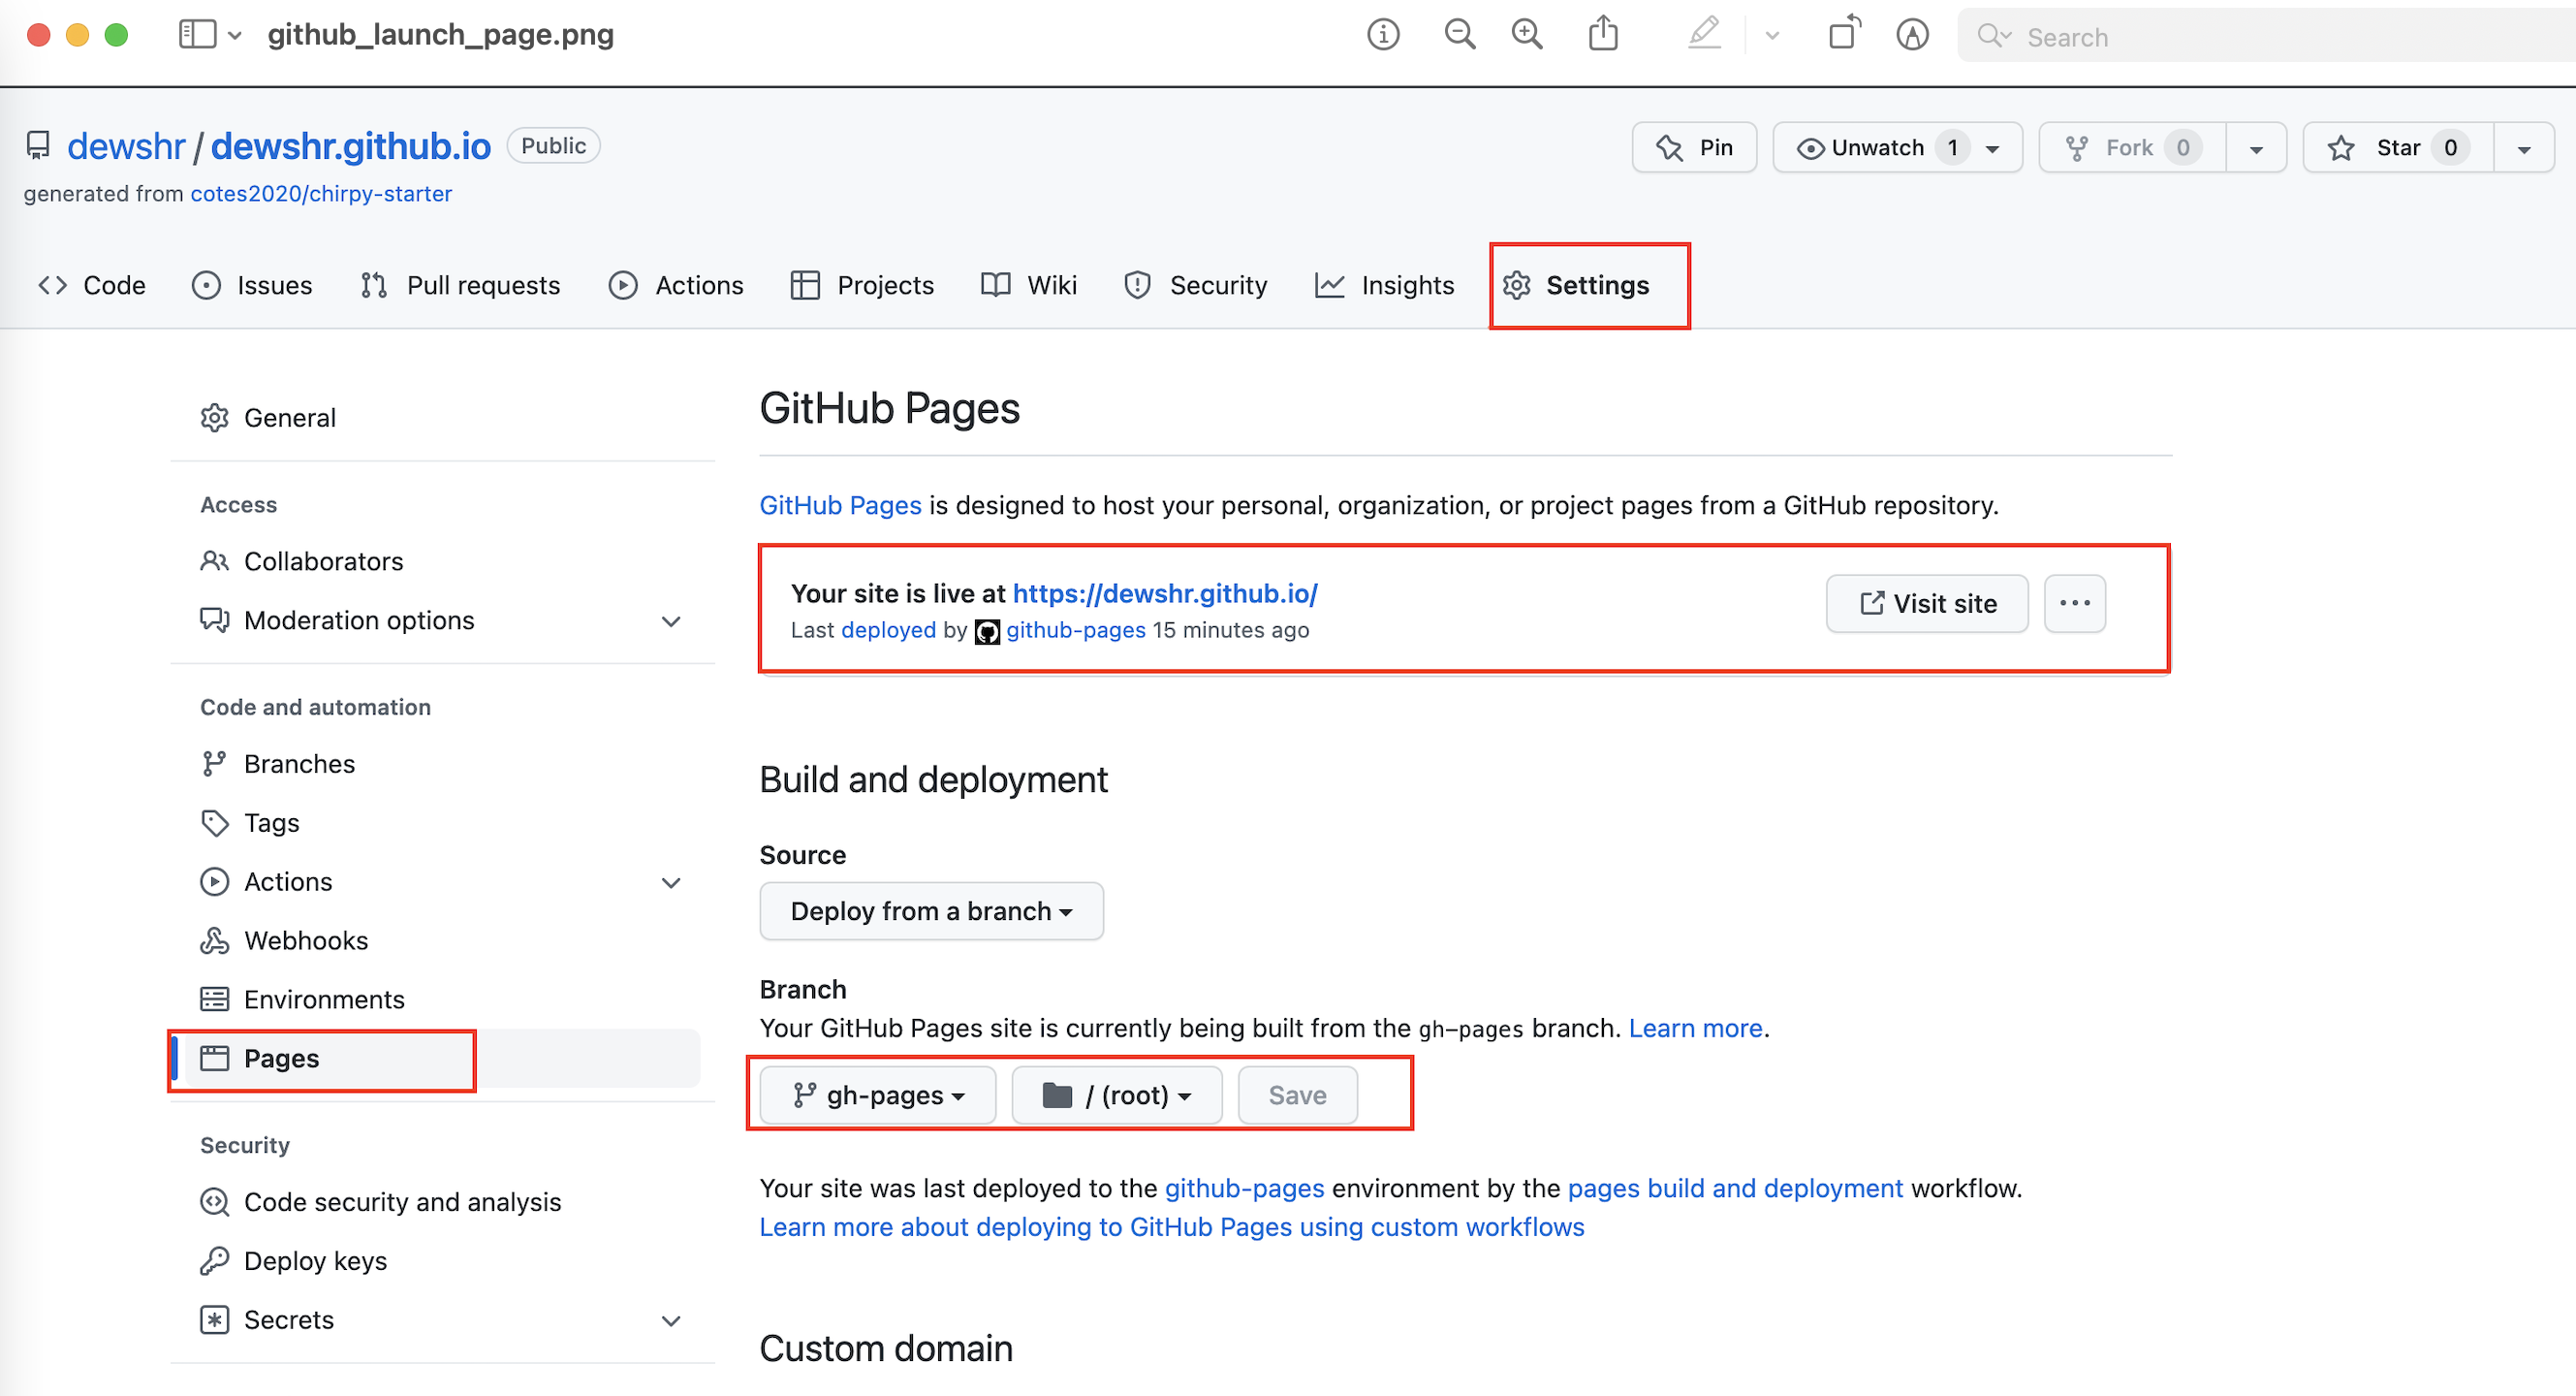
After successful build and deployment, go to settings and then click on pages and then change the branch to gh-pages and save.
NOTE: Everytime you make changes you need to
git add .andgit commit -m 'message'andgit push.